September 26, 2022
#MasterclassMonday is a collaboration between Horse Network and NOELLEFLOYD.com to empower equestrians. Every Monday we’ll bring you a new lesson from a leading trainer or professional to help you troubleshoot your training, master your mindset and up your game. This month’s instructor: Olympic groom Max Corcoran.
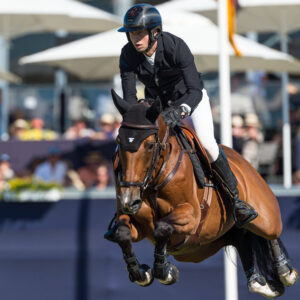
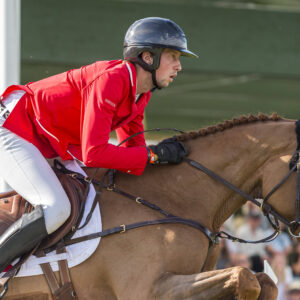
Our horses are athletes and they should be treated as so.
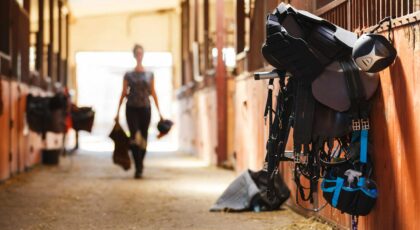
Think about it. After a hard run or workout, what do you do to recover?
Maybe you take a hot bath with epsom salts or use some muscle relief gel on the sore areas. Whatever it may be, the same concept translates to our horses. Standing wraps are an excellent way to treat, protect, support, and prevent. Whether you want to use standing wraps as added protection in the stall, while traveling, or just as a supportive compressive layer, learning how to do standing wraps can be the ultimate game changer in your horse care program.
There are tons of ways standing wraps can be utilized, but some ways include protecting a cut on the leg to ensure the medication stays intact or to protect an old injury from inflammation and swelling. By using standing wraps, you’re promising that the area stays compressed, supported, and protected. They also serve as a great protective layer over liniment or poultice after a hard day’s work.
Like most wraps, standing wraps come in all different colors, styles, materials, and sizes. Some of the most common type of standing wraps include:
- Quilted pillow wraps
- No bow wraps
Quilted pillow wraps are typically a thicker, but softer option that offer a lot of protection. These are a great option if you do want that added protection, especially if you have a problem horse who tends to chew or rub on their wraps.
No Bow wraps got their name because they are advertised to prevent bowing a tendon from wrapping incorrectly or too tightly. Typically, these wraps are a much thinner material and offer a bit more structure, making it harder to have wrinkles throughout the wrap.
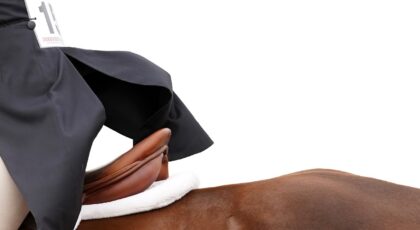
Sizing your horse correctly for standing wraps is key in making sure the entire area is supported and protected. A lot of times, people will forget to wrap the entirety of the fetlock, which is the joint you want to protect the most. They come in a range of sizes including 12”, 14”, and all the way up to 18”. Measure, borrow from a friend or ask advice from a trusted professional if you’re unsure of what size your horse would be.
Check out Max Corocan’s Equestrian Masterclass, Leg Protection, 101 at equestrianmasterclass.com.
Pairing your wraps with the most appropriate standing bandages is also key in making sure your wraps are secure. Standing bandages come in a range of sizes and styles as well, including cotton fabric or flannel. There’s no right or wrong here and it’s strictly up to your own personal preference.
When starting to wrap your horse, always make sure your wraps are rolled up snuggly and neatly before beginning. Once your standing wrap is in place from the base of the knee, down, you can begin wrapping in your standing bandage starting at the middle of the leg, down, and back up to the top. It’s important to keep a bit of the standing wrap showing at the bottom and the top to allow for some range of motion and to prevent pinching.
Trust me when I say that standing wraps take a lot of practice, especially in making sure they are not too loose or too tight (use the one finger rule). It’s important to go slow, practice, and don’t be afraid to ask for a second opinion if you’re unsure.
This is an excerpt from Max’s Equestrian Masterclass, Leg Protection, 101. To access the course, as well as a full library of courses from the likes of Ian Millar, Anne Kursinski and more, go to equestrianmasterclass.com.