January 24, 2018
You’d think we had this down ages ago…but according to dressage rider and biomechanics expert Susanne von Dietze, a whole lot of us don’t shorten our reins right. I know, I know…when you’re struggling with the nuances of lateral work or flying changes, the last thing you want to hear is that something so basic could be wreaking havoc on your horse’s performance.
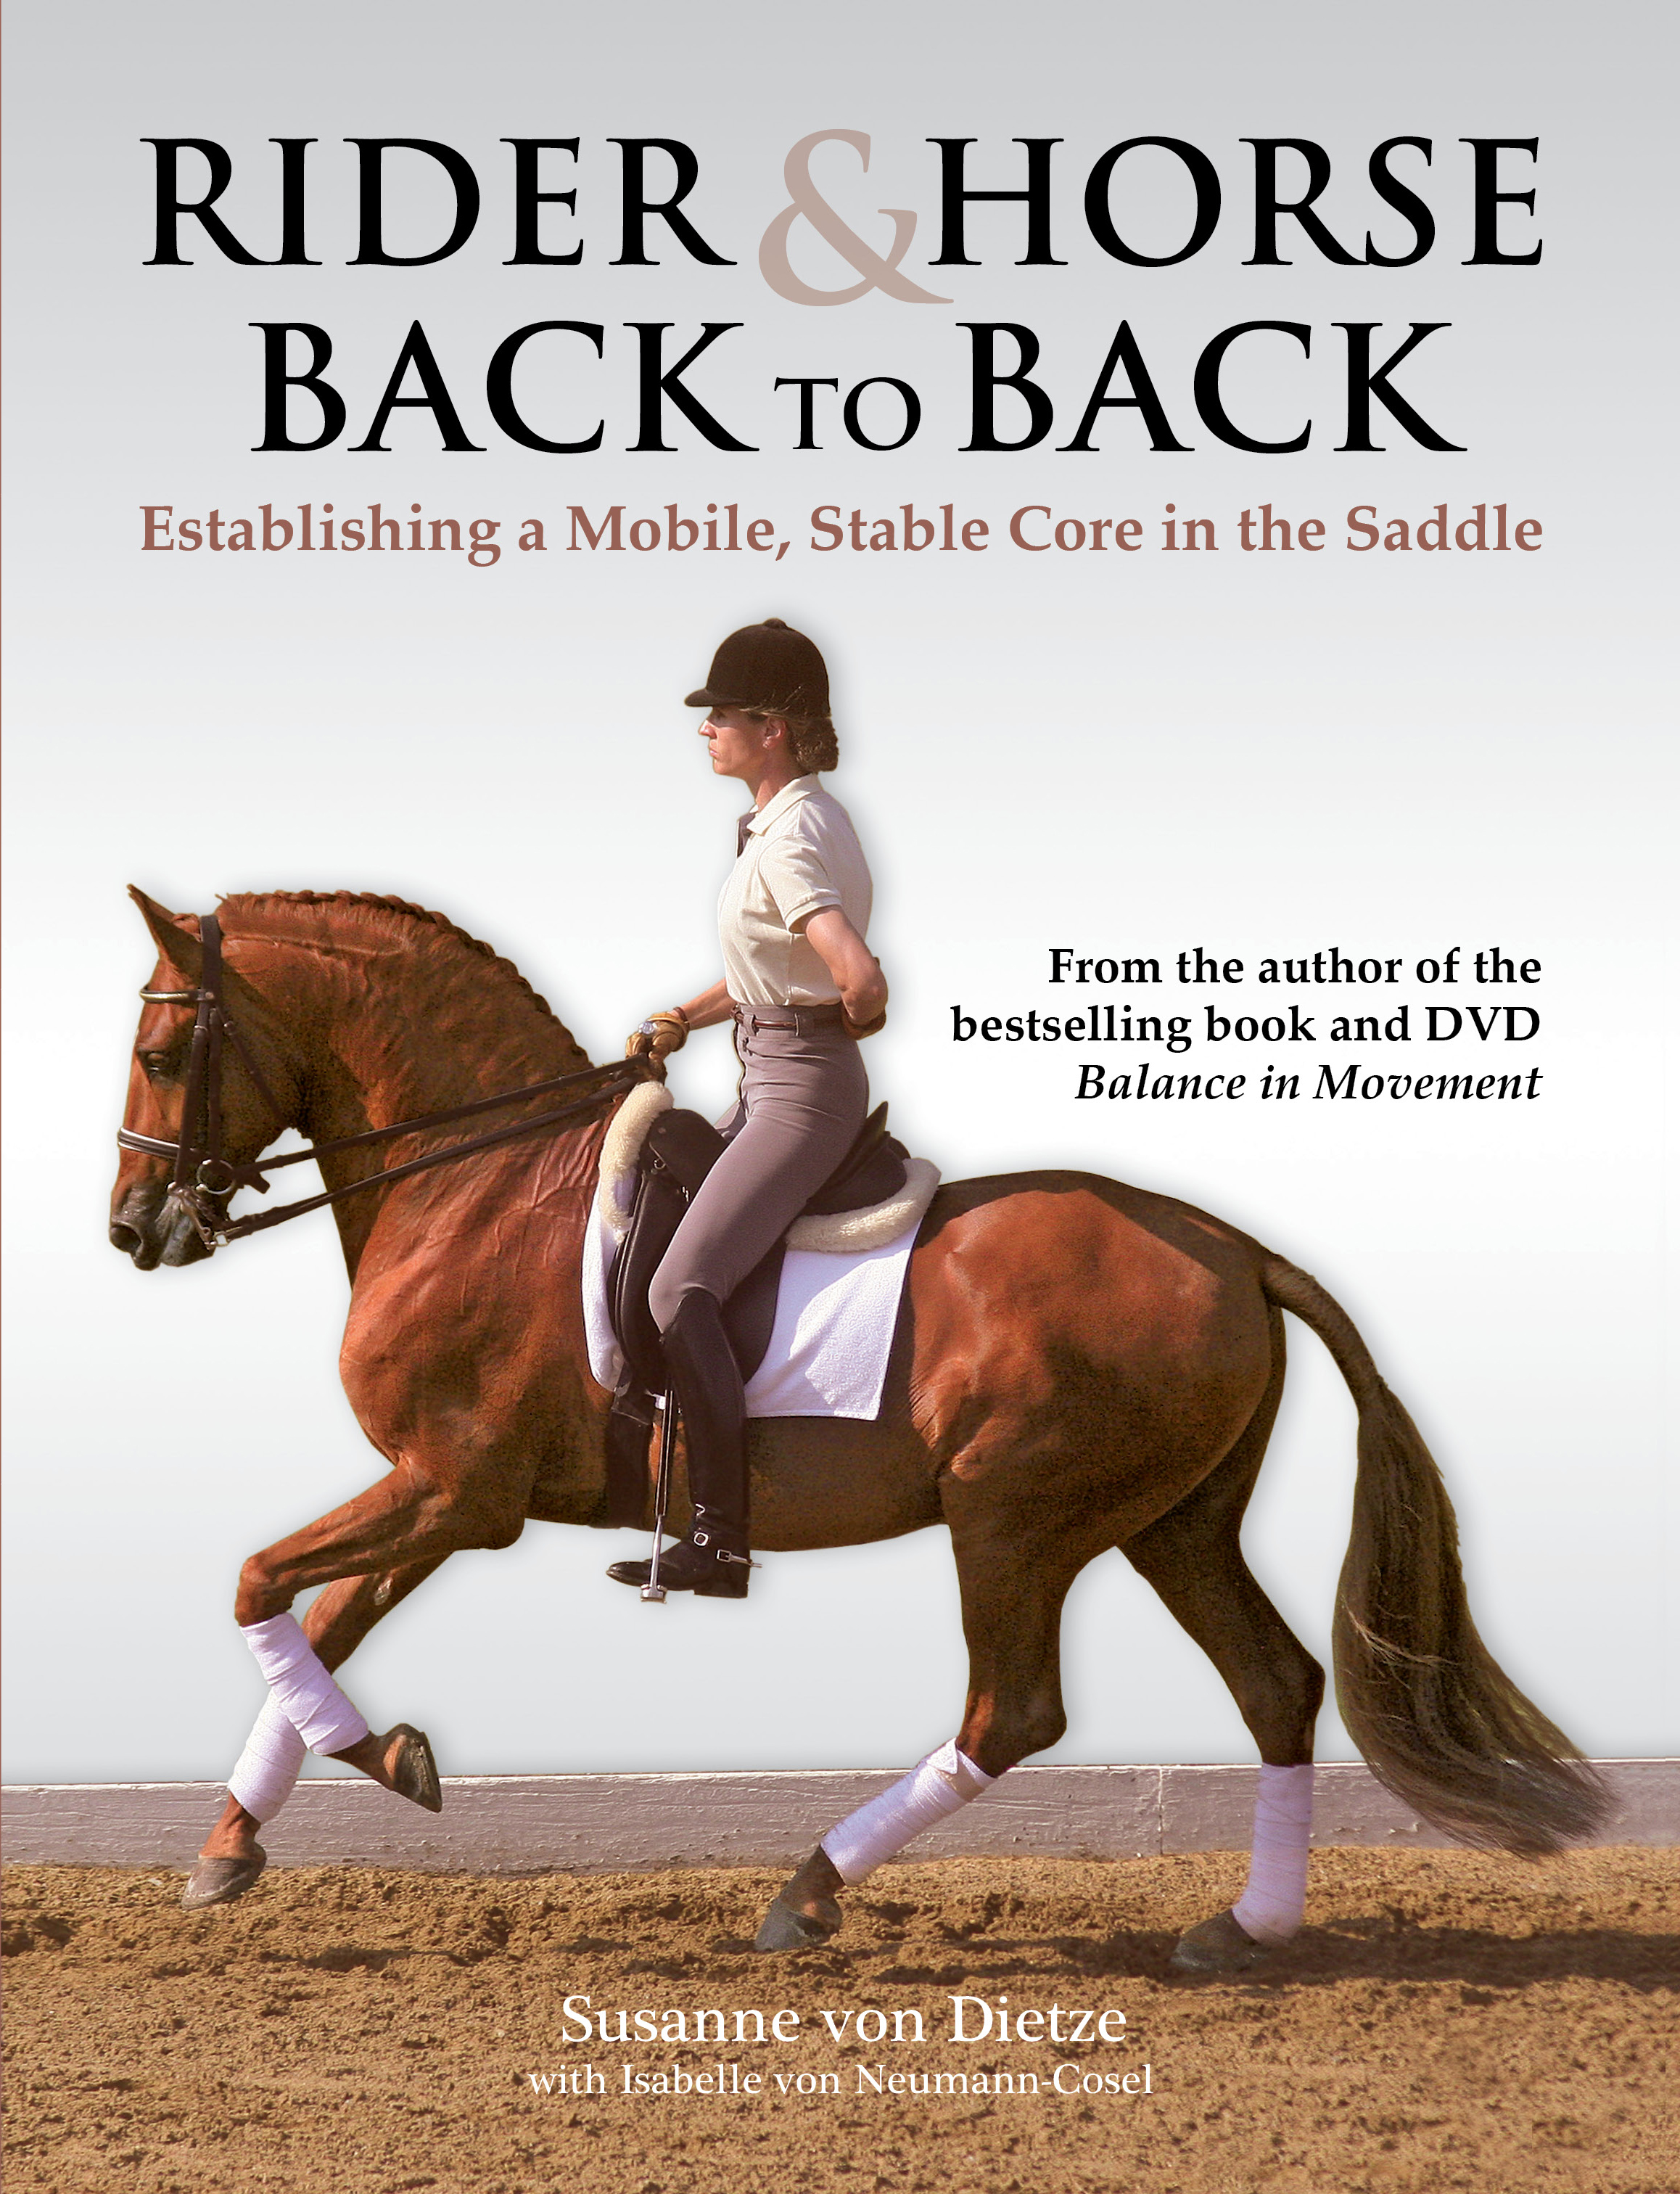
“Shortening the reins is an important technique, which completely influences harmony in movement between horse and rider,” says von Dietze in her book Rider & Horse Back to Back. “Since adjusting the length of the reins has to be done over and over again—especially before transitions from one gait to another—you should be able to do it automatically…. Unfortunately, the technique of shortening the reins correctly is not taught and practiced often enough. Many riders upset their horse’s rhythm and balance so much that the transition being prepared fails all the more. Others hardly dare shorten the reins because their horse’s mouth is so sensitive that every attempt leads to negative tension, head shaking, or irregularities in rhythm.
“Shortening the reins is a complex movement including several steps: preparation, support, taking one hand off, sliding it into its new position and closing it again. During the entire process, your constant contact to the horse’s mouth must stay light and your feeling for it remain. Ideally, the movement of your hands rhythmically unites with the horse’s motion thus maintaining rhythm and balance. And all the while, your seat should stay as supple and correct as ever.”
Well, when you put it that way, it does sound complicated! Luckily, von Dietze walks us through the process in her book:
***
How to Properly Shorten the Reins
An action this complex can only be learned if taken apart and divided into small steps. Only when you understand and feel confident about the little steps that build the whole movement will you be able to perform this complex task without thinking about it.
First of all, you need to decide which rein you actually want to shorten. When you need to shorten both, always start with the outside one. Many riders have a habit of beginning with their strong hand every single time. The horse might be irritated by this habit since he secures his balance with the positive contact on the outside rein.
Another incorrect method—but very commonly seen—is shortening the reins with just one hand by walking your fingers down the rein or even “skipping.” In this way, it is impossible to maintain contact with the horse’s mouth. If you are using this method, you are seriously interfering with the horse’s sensitive mouth, and he will lose his trust in your contact.
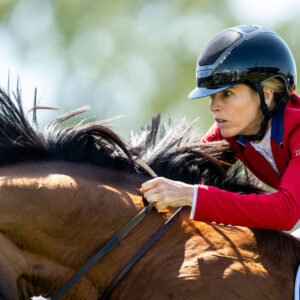
You must never look down on your hands when adjusting the reins. Looking down has serious negative effects on the balance of both horse and rider—but again, it is a very common and “stubborn” habit that is harmful to the back.

Eyes up! Photo by Barbara Schnell
In the same way that you have to plan ahead and prepare for a transition, you also need to keep in mind that shortening the reins takes time and distance. Beginners might need an entire long side of the arena until they have shortened their reins; an experienced rider should not take more than one horse length.
Practice shortening your reins correctly. Doing it on the ground or on a horse standing still can be very helpful in order to learn the technique, but it remains purely theoretical. The actual challenge only presents itself when the horse is in motion.

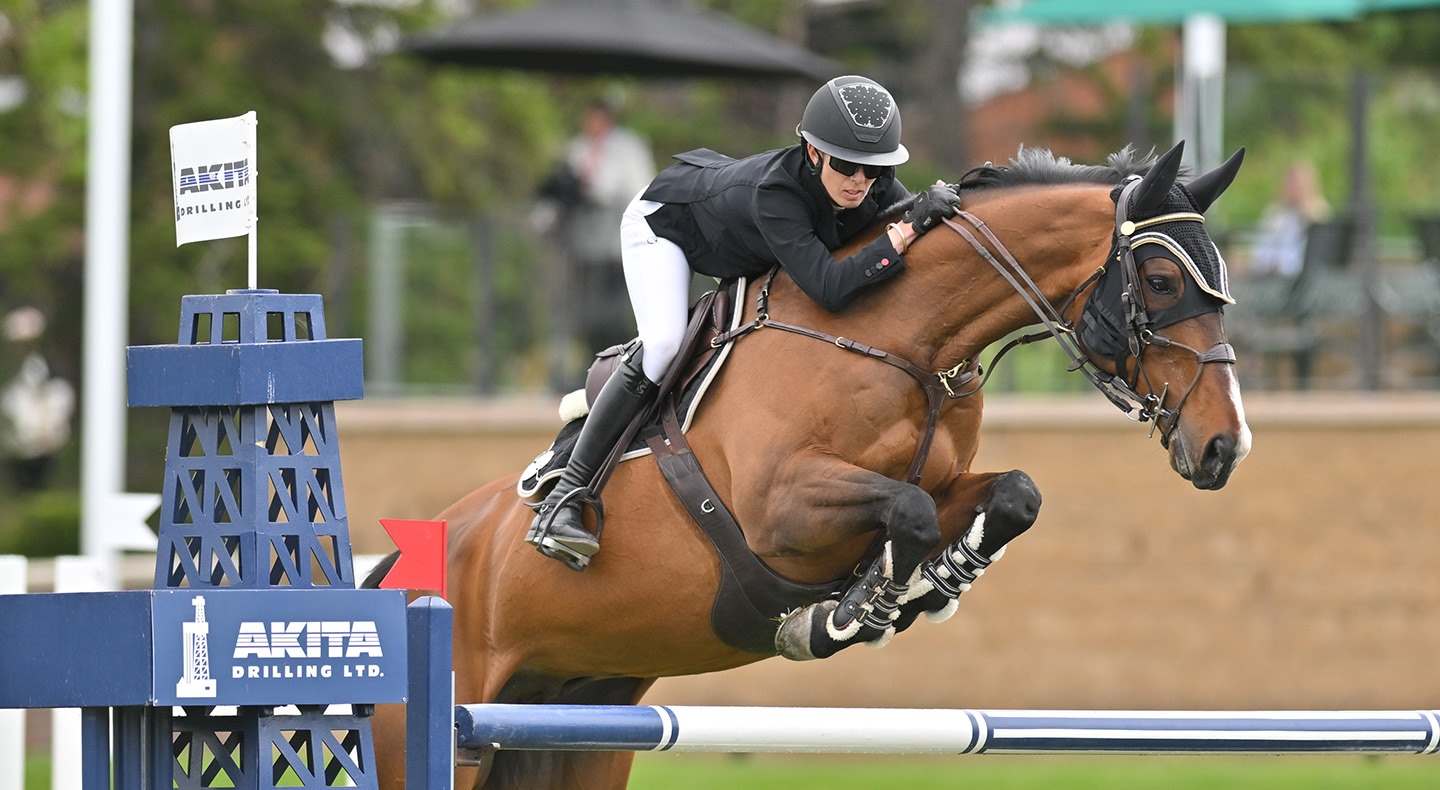
Changing rein length should not disrupt the quality of the gait. Photo by Jean Christen
Shortening the Reins in Five Steps
(Tracking left, shortening both reins)
1. Counterbalancing support rein: Your left hand holds onto the right rein and helps to keep steady contact to your horse’s mouth.
2. Easing your grip on the right rein: Your right—outside—hand opens up slightly from bottom to top so that thumb and index fingers control the rein. (In these fingers, you have the most sensitivity and control over the movement.) The other fingers remain in their usual position even though they no longer control the rein.

Shortening the reins correctly with a sensitive feel. Photo by Mary McKenna
3. Shortening/sliding: Let your right hand slide along the rein while applying a little bit of pressure and moving it slightly to the outside. (By applying pressure, you are making sure that you maintain steady feel to the horse’s mouth.) You can only shorten the rein as far as your left hand can support it.
4. Closing your hand/second counterbalancing support phase: When you have reached the desired length of the right rein, close your right fist once again and support the left rein as described in Step 1. Repeat the previous steps with your left hand.
5. Shortening the reins: When it is necessary to shorten the reins a little more, your supporting hand has to take up both reins and does that by holding them in front of the other hand. Your free hand lets go of the rein completely and takes hold of it again when the desired length has been reached.
***
This excerpt from Rider & Horse Back to Back by Susanne von Dietze has been reprinted with permission from Trafalgar Square Books.
Trafalgar Square Books