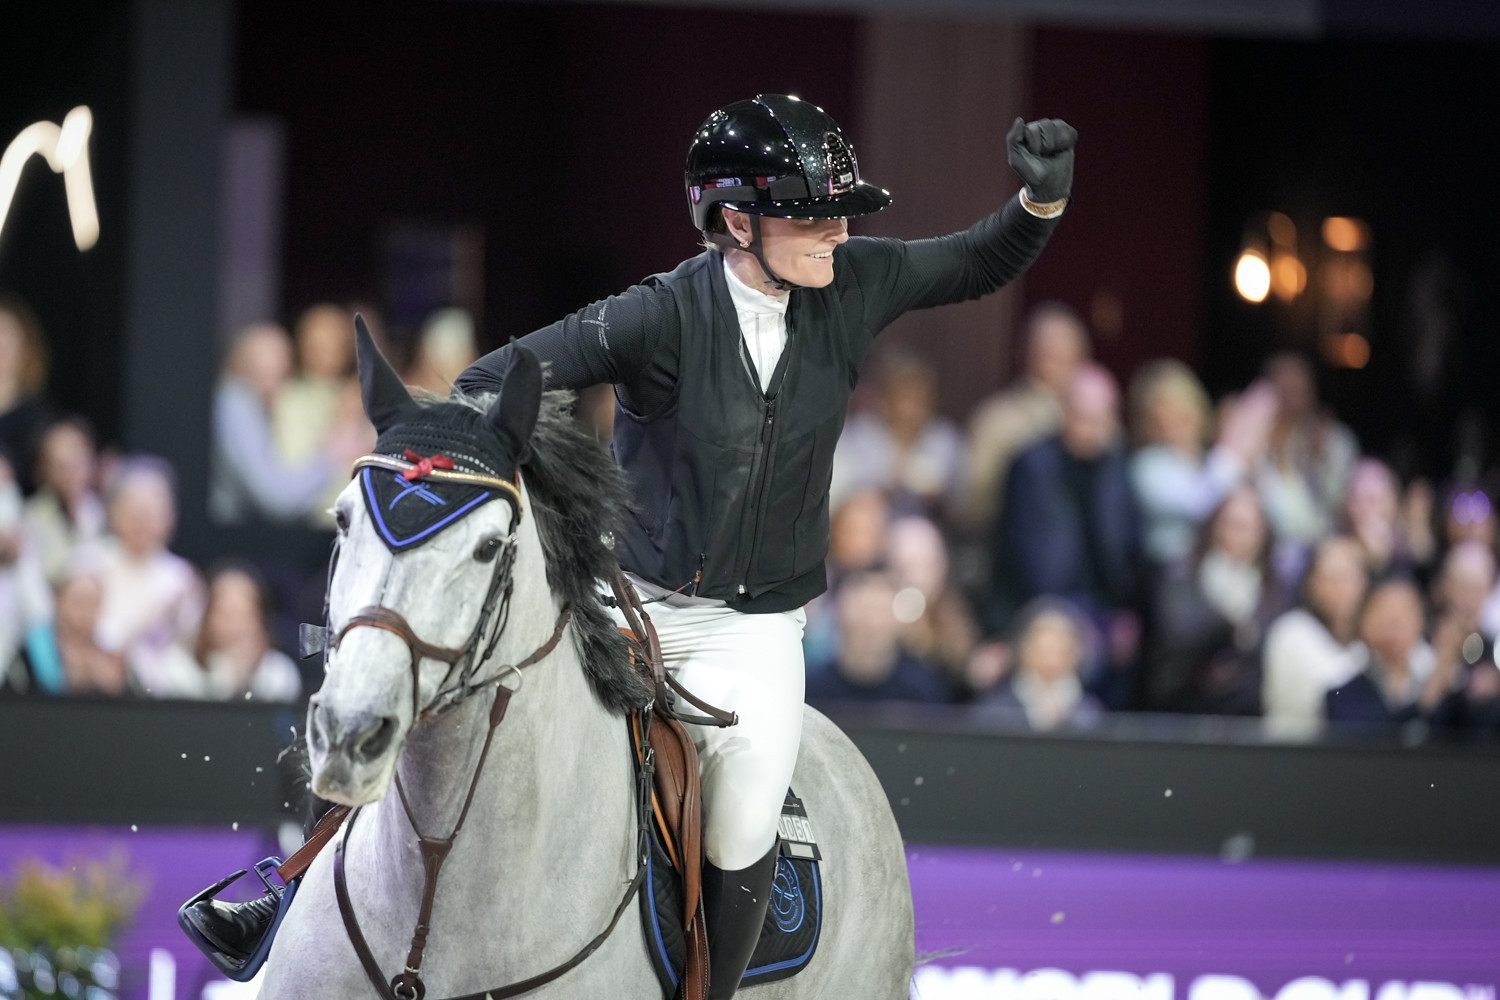
Anyone who has been fortunate enough to get a glimpse at the inner workings of Millar Brooke Farm knows that the devil is in the details. But here’s a little known fact about Canada’s first family of show jumping: Every schooling session on every horse begins with grid work.
You might even say it’s the secret to their considerable success. Plus, you know, hard work, talent, etc.
“The idea behind a grid is that the horse learns to do the exercise themselves,” says Canadian Olympian Amy Millar. “If the grid is explained and shown correctly, the horse will choose to do it the correct way because it’ll be the easiest way.”
Here she shares a trot grid she uses to develop a horse’s eye for distances.
“Some horses have a good eye for distances and will try to pick it up a little out of a corner and take you to the right place. Some have a bad eye and will always run underneath the jump,” she explains.
“Grids help develop the horse’s eye. The horse should look at the jumps and try to judge the distance where they should leave. Through repetition, the horse will learn the easy way by discovering it.”
Step 1: Start with trot poles

Set four trot poles four feet apart and trot the horse over them from both directions. The horse should travel in a straight line, in the center of the poles, on an even rhythm from one end of the ring to the other.
“The rider’s job is to put the horse on a four-foot trot step with the right rhythm and to not interfere with the exercise,” says Millar.
Step 2: Introduce the first element

When the horse is trotting calmly and correctly through the poles, introduce the first element—a 2’6” vertical set nine feet from the last trot pole—and approach at the trot. The horse should stay on the same rhythm and line, taking two trot steps before the jump.
“Focus on your position—lower leg underneath, eyes up, stay in the middle,” advises Millar. “If the horse gets quick on landing, quietly pull up before the turn.”
Trouble shooting: “If you have an advanced horse that likes to rush the first element, you can build the vertical up,” she says. “Once the horse is waiting for the first jump, lower the vertical again before continuing with the exercise.”
Step 3: Introduce the second element

Set a low ramped oxer 18 feet from the vertical and trot the grid. At one canter stride, the oxer comes up quickly and will require greater effort from the horse.
“The shorter distance makes the horse power across the oxer,” says Millar. “A ramped oxer works best, because it allows the horse to easily get out of the way of the first rail and focus on powering across. You can build the oxer up to make it more challenging.”
Trouble shooting: “If the horse cheats and gets fast and crooked, use a guide pole to keep the horse straight,” she says. “But don’t use wood rails where the horse lands—a broken leg impedes learning.” [The Millars use plastic pipes.]
Step 4: Introduce the final element

The final vertical should be a 30-foot two stride from the oxer.
“Focus on holding your position and allowing the horse to back up naturally before the jump. The horse should think about shortening its stride in the air over the oxer,” says Millar.
“If the horse does the exercise correctly, his cadence will be equal from beginning to end, he’ll jump with good technique in front and behind, and he will land square and straight—without any pushing or pulling by the rider.”
Trouble shooting: “If the horse is getting wound up, you may have to help show them what to do using a bit of contact or by pressing them toward the jump. Once they get it, stop helping,” says Millar.
“If it’s not getting better, you’re doing something wrong. The jumps may be too big or the exercise too hard for the skill level of the horse. In that scenario, take a step back. Pat the horse and let it think about the exercise and relax. Then try again, simplifying the exercise if necessary.”
Step 5: End on a positive note
The exercise can be made more challenging by raising the jumps and widening the oxer. “For most horses, you don’t want to go higher than a 1.20m [3’9”] in a grid,” says Millar.
Once the horse completes the grid successfully, end the lesson. “The idea with any training exercise is to challenge the horse, have him say ‘yes’ [learn the exercise] and reward him. Give the horse a pat and stop jumping the grid,” she says.
Quick Tip: At Millar Brooke grids are always meticulously measured with a measuring tape (pole end to pole end) and introduced element by element. Every. Single. Time.


 October 27, 2016


