
 August 21, 2025
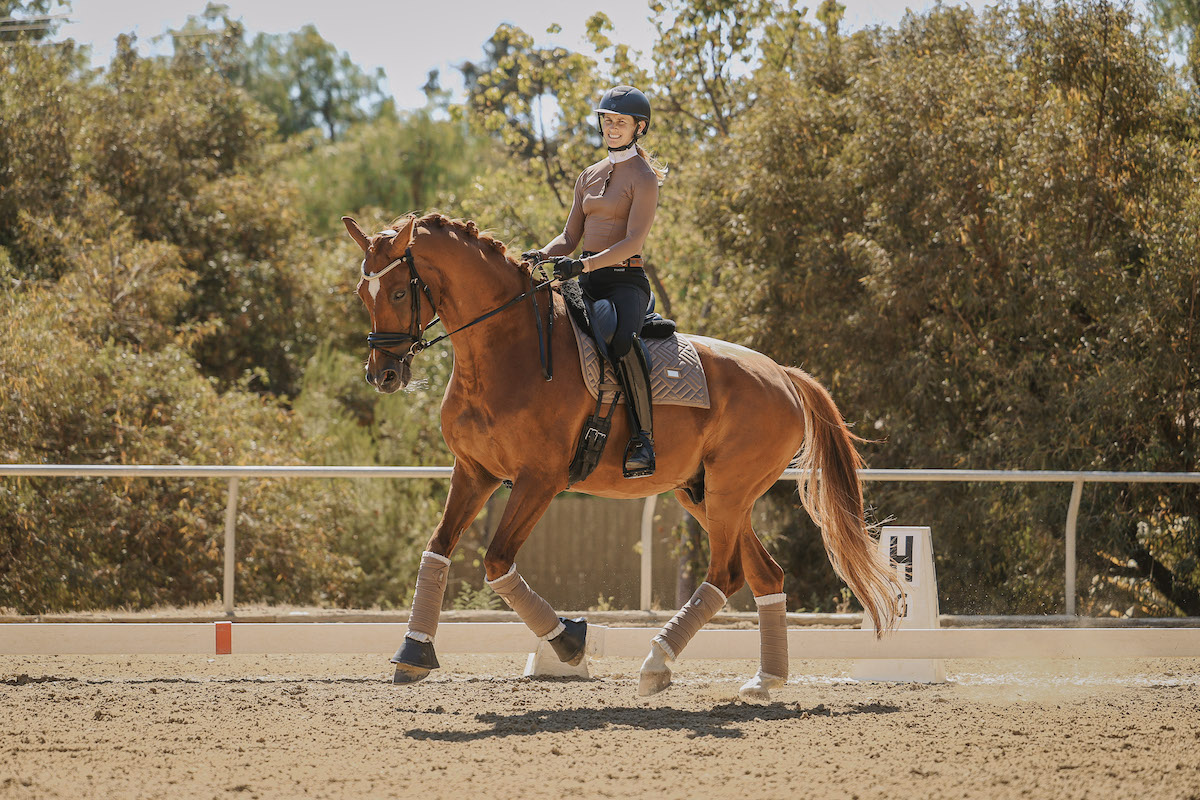
A steady contact is crucial for establishing roundness in a horse. It allows for effective communication between horse and rider and encourages the horse to engage its core and back muscles, which ultimately leads to a more balanced frame. Here, dressage coach Amelia Newcomb explains three simple steps to establish a steady contact. Analyze your contact and connection in 30 seconds with Amelia’s Contact and Connection Quiz!
****
Is your horse inconsistent? Do you feel like your hands are all over the place? Do you have trouble turning and steering, and you can’t get your horse round no matter how hard you try?
One of the most common struggles I see riders having with their horses is that they can’t maintain a steady contact.
That’s important because a steady, elastic contact with the horse’s mouth is the foundation for all communication between rider and horse.
When you don’t have this elastic feel, you either are gripping on your reins and your horse can’t feel any difference in pressure when you wiggle your fingers and flex your wrist for subtle aids. Or you have big loops in your reins with no feel of the bit, and your horse still can’t feel your subtle finger movements. In both these cases you end up resorting to widening your hands, pulling with your elbows, or your hands ‘going rouge’ all over the place.
With a steady, elastic contact, your horse can HEAR your aids better, making it easier to control and maneuver them with ease, and develop the muscles required to use their body properly and establish roundness.
Here are my top three tips for creating the steady, elastic contact:
Step 1: Forward with Rhythm
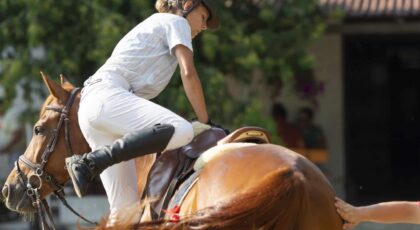
Before you even think about establishing a steady contact, it’s super important to get your horse forward and in front of your leg. If you feel safe, it’s best if you can work on this with a soft contact or looser rein.
Work on getting a nice active gait by counting the rhythm, focusing on your seat staying in balance with the rhythm, and maintaining your alignment: ear, shoulder, hip, and heel. Your horse should maintain the forward rhythm without you having to constantly remind them to keep going with your leg or pulling back/half-halting with the reins.
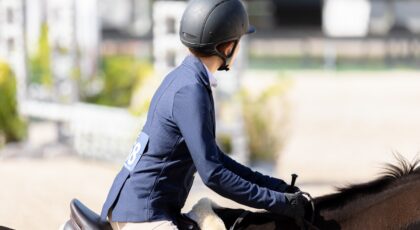
Step 2: Shorten the Reins
Once your horse is forward, you can now start shortening the reins. Check-in with your forward before you shorten the reins—remember, the correct sequence of the aids is leg, seat, and then hands. Before you do anything with your reins, you should first use your leg. Ask for a little more tempo, then begin shortening your reins gently until you have a soft feel on the corners of your horse’s mouth.
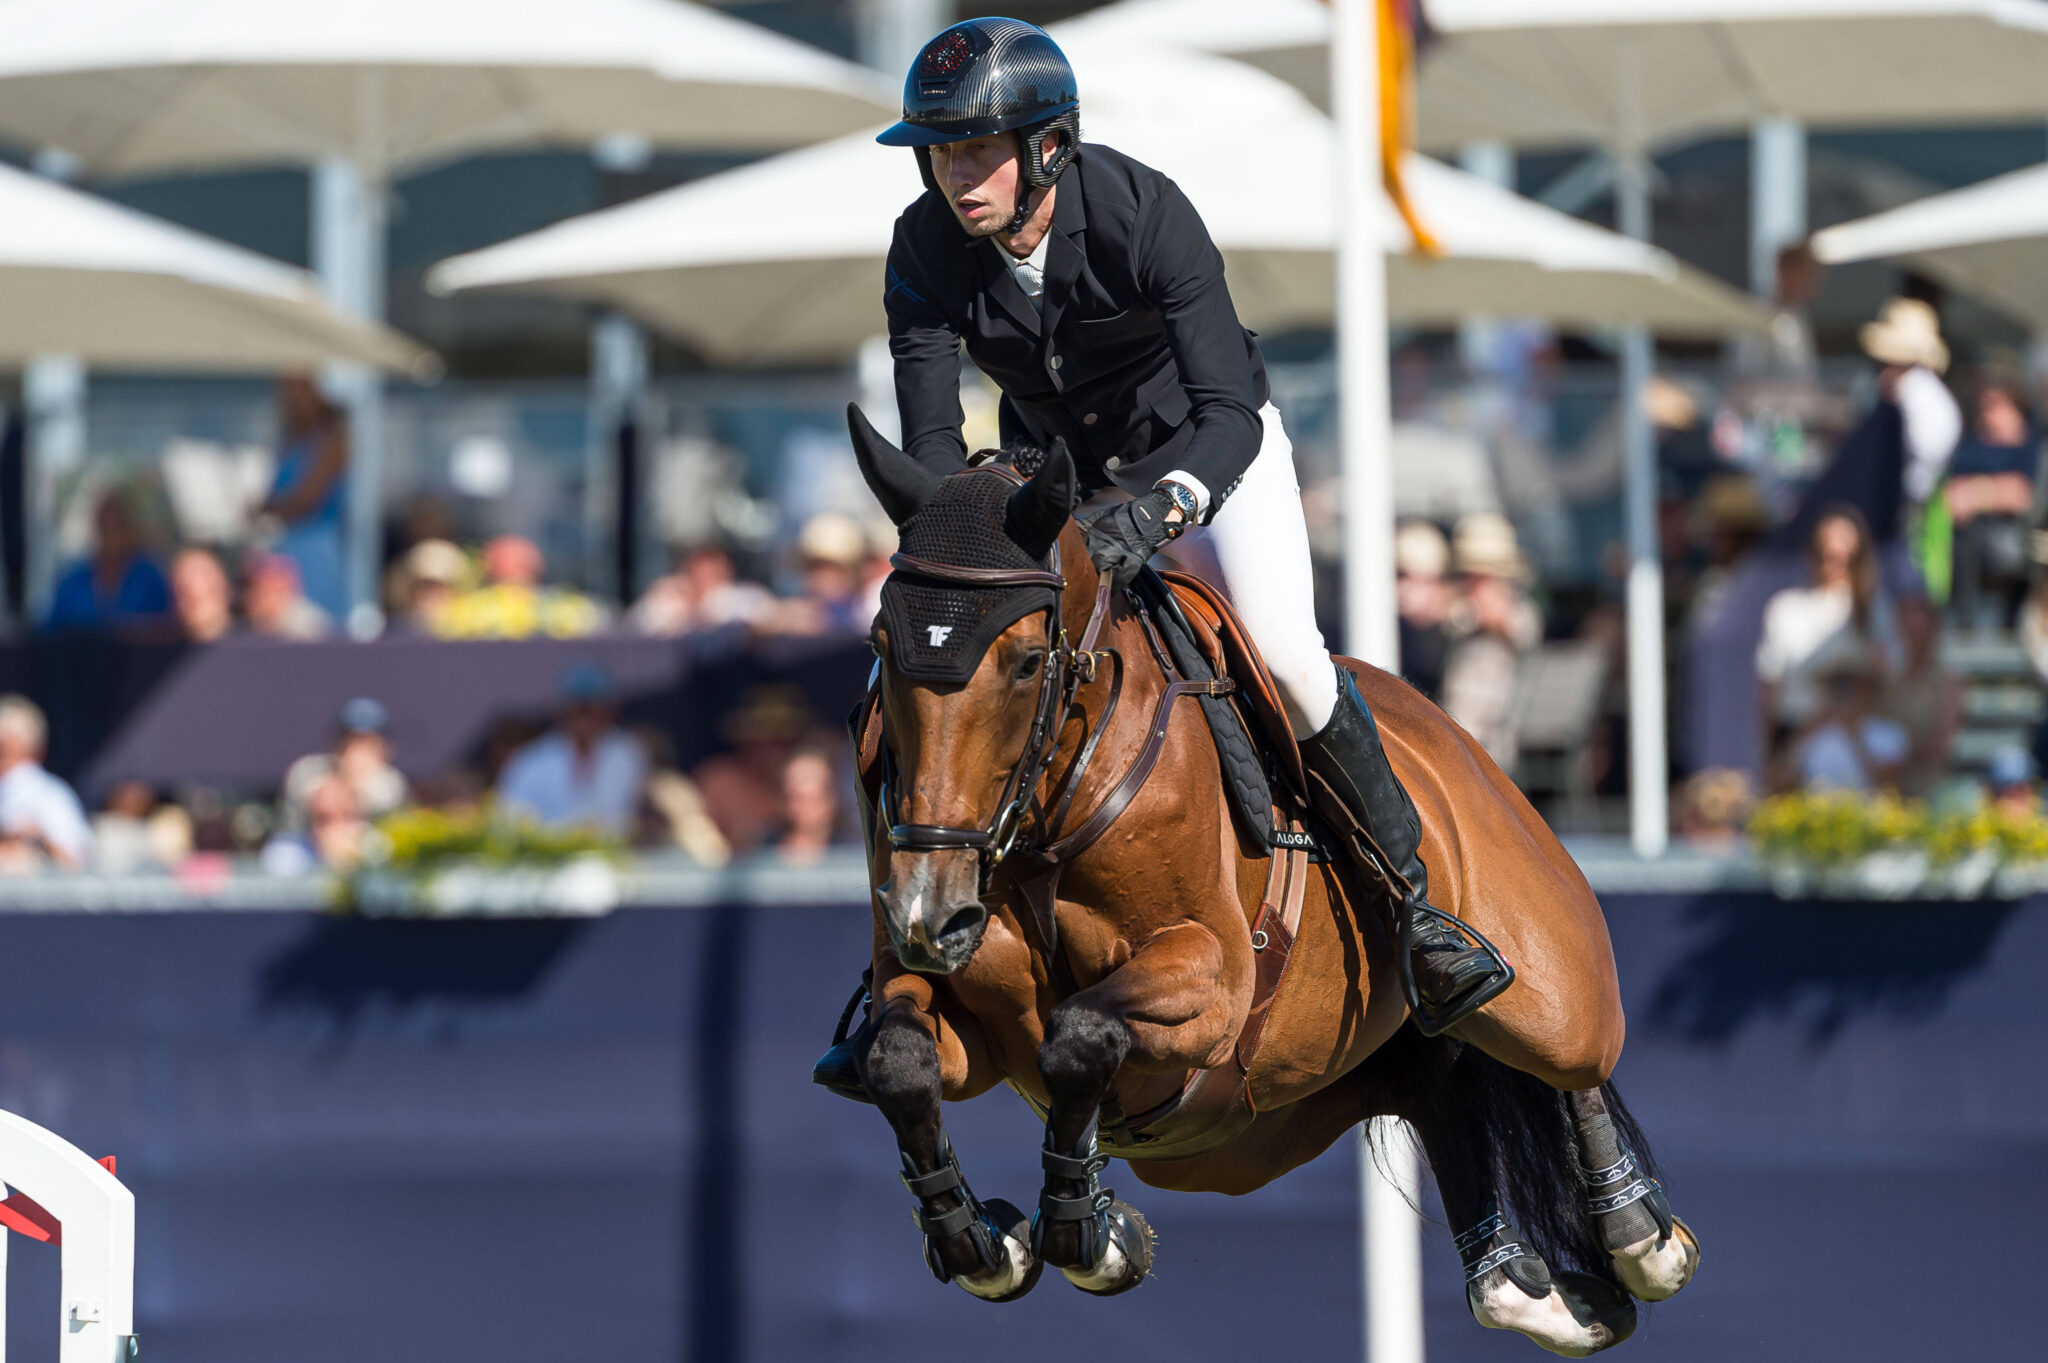
Step 3: Following Elbows
As you’re riding, make sure you have a straight line elbow to mouth, and your elbows are following the motion of your horse’s gait. At the walk and the canter, the horse has a nod in their head. Your elbows must follow this nodding motion in order to establish a steady contact and not hit the horse in the mouth.
Now that you have steady contact, you can get your horse inside leg to outside rein and on the bit!
Simple—but not always easy to put into practice. Each horse is a little different, which is why, for a limited time, I am offering my Contact and Connection Webinar & Worksheet Combo available for free download. In less than 30 minutes you will learn how to assess your horse’s frame and contact, and understand how you can ride with balance and harmony!
For one-on-one advice, sign up for our next 30 Days to Round Challenge, coming September 1!