October 22, 2016
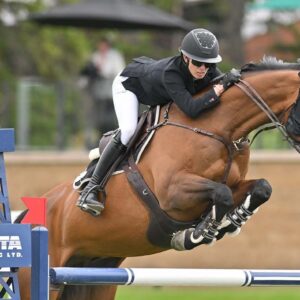
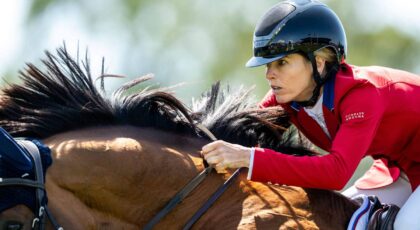
Last week, T.J. O’Mara captured his second major equitation title in as many weeks weeks. (He’s the 2016 Platinum Performance/USEF Show Jumping Talent Search Finals—East and 2016 Pessoa/US Hunter Seat Medal Final champion). Consider him your equitation inspiration for perfecting the two positions of the canter: the three point and the half seat.
“The three point is two legs and a light seat in the saddle, sinking down with the motion in the saddle with a lot of weight distributed in the heels. The half seat is two legs, rising up through your heel, weight deep in the heel,” says USET veteran and EquestrianCoach.com founder Bernie Traurig.
“For years I have interchanged the terms ‘two point’ and ‘half seat.’ For clarity and standardization I now use the term two point as an exercise to develop the half seat.
“The trick is to be comfortable in both seats—master both seats and use them where they apply in the ring and on the flat. You must be comfortable rising up into a half seat and sinking down into the three point.”
Within these two seats are variations that will come into play when schooling over fences or competing.
“Most of our jumping will be in the half seat (seat bones out of the saddle, with a hip angle of approximately of 30 degrees) or a light seat (the seat sinks a little closer to the saddle and the hip angle remains the same or adjusts a little more open if the situation calls for it),” says Traurig.
“There are times on course when a full seat, where our legs are strongest, will be useful and when we may even use a driving seat, where we get behind the motion to drive a spooky horse, balky horse, or out of a desperate forward situation.”
In this exercise, Traurig focuses on the two fundamental positions of the canter.
Step 1: Practice perfect three point
Pick up the canter in the three-point position. “Think about a lot of weight in the heel, light seat bones going with the motion of the horse—down and forward. Every time the front legs hit the ground, the heel goes deep, deep, deep,” says Traurig.
“If the horse falls behind your leg, squeeze and then refresh the depth in the heel.”
Step 2: Create a flexible heel
“We talk a lot about stability in the tack in downward transitions, halting, steadying in the middle of a line. You want to be strong enough with your fingers and arms that when you have to apply pressure on the mouth you don’t pull yourself around your knee to the horse or topple on a horse that stumbles,” says Traurig.
“Strength and stability comes from a correct lower leg and a heel that is able to deepen and go slightly forward—half an inch, one inch.”
Depending on the situation, this adjustment can be visible or invisible. “On a runaway [horse], it will be very visible. I want a lot of strength and stability on a runaway,” he explains.
“On a jumper that is dragging me, I want stability, but not as exaggerated. On a hunter that is being strong and I’m trying to hide it, I want enough heel depth that I’m balanced and my fingers are strong.”
To establish stability, practice downward transitions, such as canter–halt, while staying deep in the heel. “Feel the stability,” says Traurig.
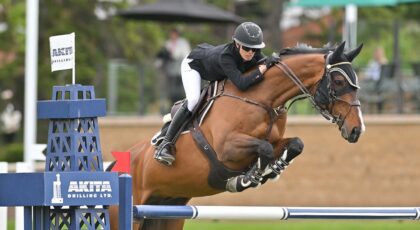
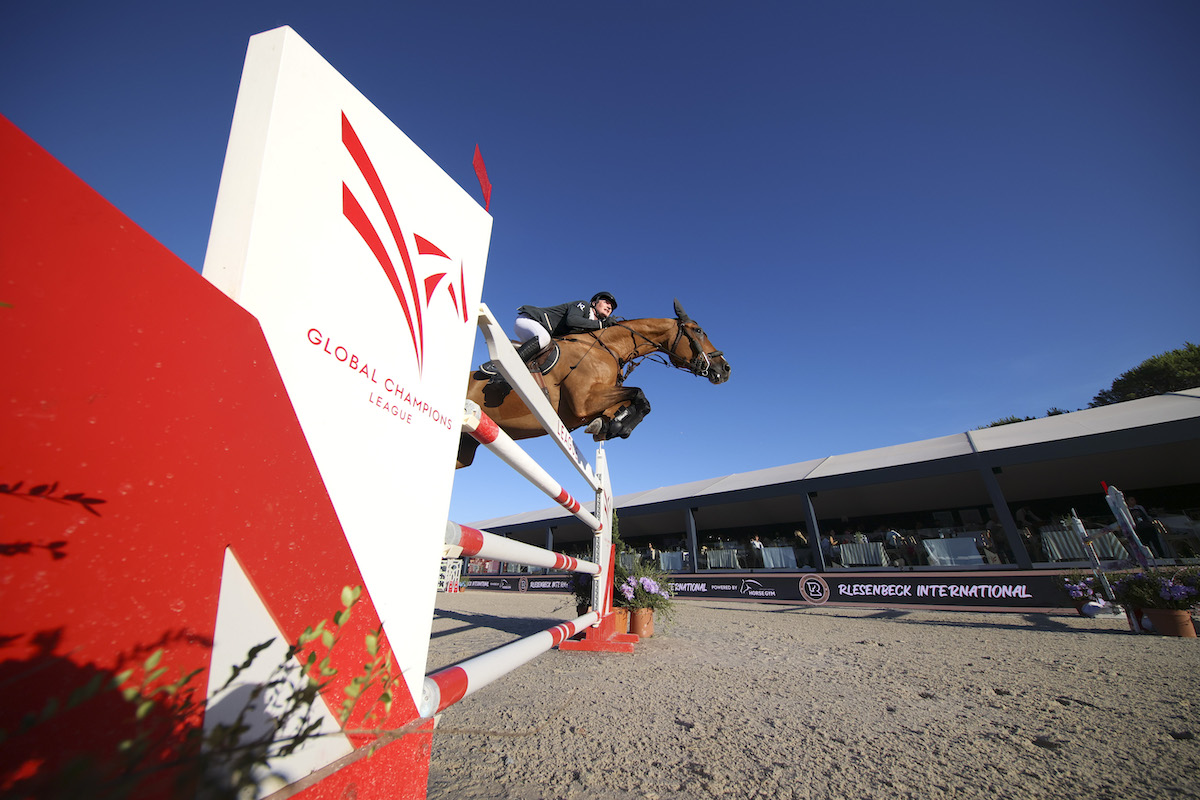
Step 3: Practice perfect two point
Again, pick up the canter, this time rising up deep in your heel into the two-point position.
“In our two point, we are up out of the tack, balanced over the horse, with the weight in your heel,” he continues. “Rather than our seat bouncing up and down, you want to absorb the bounce with the three shock absorbers—the heel with a flexible angle, the hip, and the knee joints.”
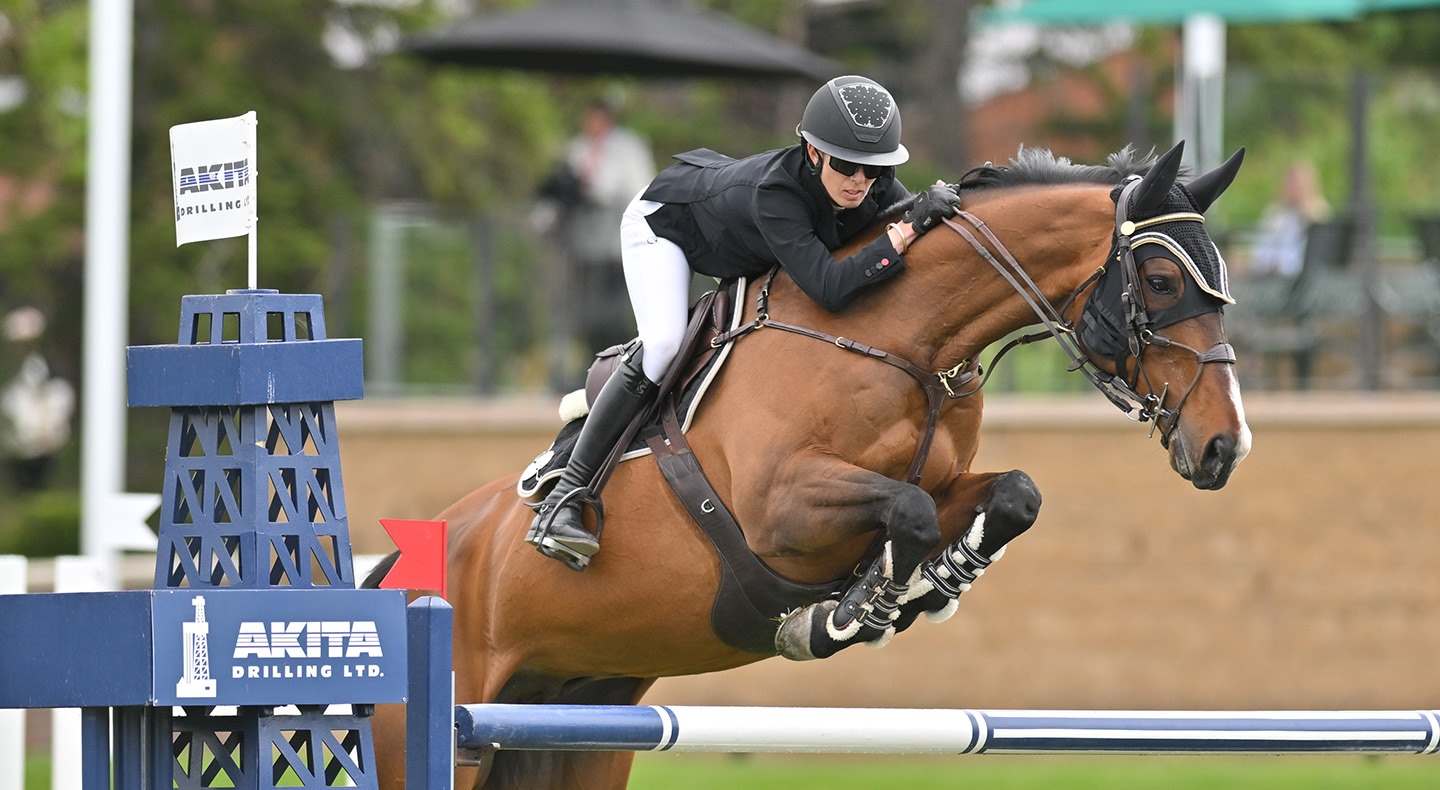
Step 4: Establish a correct leg position
“If your leg gets too far behind, you will feel toppled over the front end, like you’re falling on your chin. You’re not supporting your upper body properly with your leg,” says Traurig.
If your leg is too far out in front, you will fall behind the motion with your seat. “The leg becomes too braced, and it will push you back in the saddle. You can’t keep up,” he explains.
You want to establish a leg that supports your upper body, emphasizes Traurig.
Typically, it is more common for riders to error on a leg too far back. For this, he recommends exaggerating the leg forward for a week or two until the correct placement becomes comfortable.
“At the canter, bridge the reins in one hand, take a piece of mane with the other and put the leg forward for three or four strides and back to normal, both legs forward and normal. Let go of the mane and exaggerate forward and normal.
“In a short time, you’ll be able to move your leg to the normal position and still feel comfortable, instead of having the leg back in the two point.”
For more on this and other riding exercises with Bernie Traurig, go to equestriancoach.com.
Missed last week’s equitation lesson? Check out “Master the Three Positions of the Leg with Bernie Traurig.“